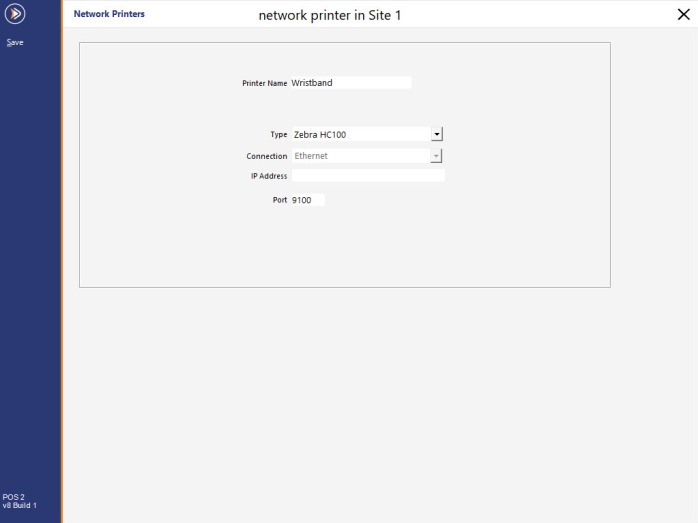
You can configure wristbands to print to a configured Zebra HC100 printer, which will include information such as Stock Item, Date and Time.
It is only possible to use the Ethernet interface with this printer.
Go to Setup > Network Printers > Add > Printer Name: Wristbands > Type: Zebra HC100 > Enter IP Address and Port > Save.
Go to File > Stock Control > Stock Items > Modify Item that you want printed on the band.
Go to the Advanced Tab > Stock Notes > Use the following formula to print to the tickets.
Tags supported:
If you want the item to print the time the ticket is no longer valid for a certain number of hours after the band was printed, use TIME+x, where x = the number of hours after the band was printed.
You can use DESCRIPTION or DESCRIPTION2 to print the stock item’s description on the band.
The information will print in the order it is described in the Stock Notes field.

If you have multiple wristband printers configured and want specific wristbands to print to a specific printer, within the Stock Notes field for the wristband, specify the PRINTERNAME tag at the end of the formula followed by the name of the printer that you want to print to.
E.g. [WRISTBAND=TIME DESCRIPTION PRINTERNAME=Wristband]
When that wristband is printed, it will print to the Printer Name that has been specified.